
One of the most important things Morpheus enables you to do is train in heart zones based on your recovery each day. The three Morpheus zones are based on a concept called dynamic heart rate training.
The biggest problem with the way heart training has traditionally been done is that the zones are entirely static. They never change and are only based on a percentage of your maximum heart rate.
There are two big problems with this approach. The first is that most people use the 220-age formula to determine their max heart rate.
That formula is outdated and research has shown it to be extremely inaccurate for most people. That’s because it was developed more than 50 years ago without any real research to even support it at the time.
It was also never intended to be applied across all ages and fitness levels in the first place.
The other big issue with the traditional approach to heart rate training is that even if you do use an accurate max heart rate, there is no connection to recovery. Your zones are always the same.
It doesn’t matter how fatigued or recovered you are.
The zones are the same either way, but that’s not how the body works.
Think about lifting weights. When you’re tired and sore, the bar feels heavier. It takes much more effort to get in the same number of reps. You can’t hit the same max numbers.
As we’ve discussed in previous lessons, fatigue and stress impact our bodies in many ways.
One of the most important of these is that they increase the cost of doing more work. This often decreases our ability to perform as a result.
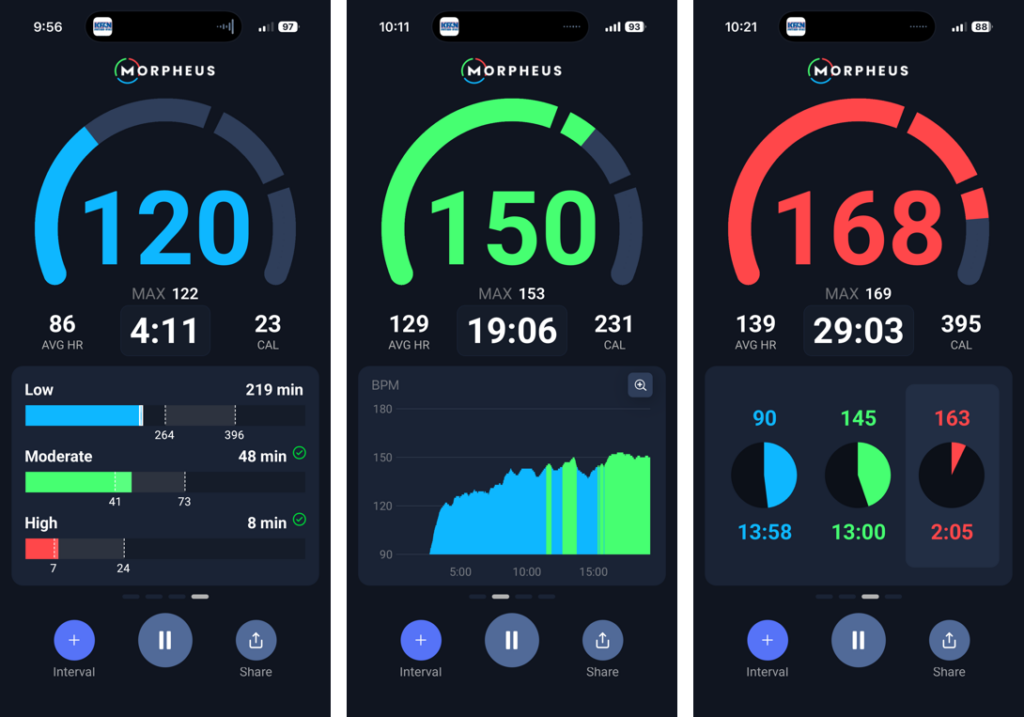
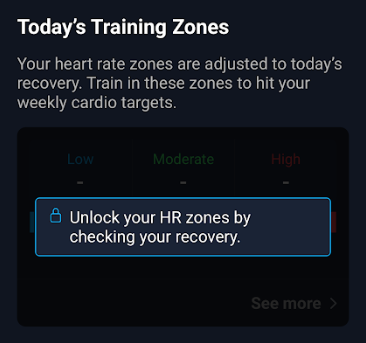
Heart rate training zones need to be dynamic and adjust to where your body is at each day. This is why your heart rate zones in Morpheus are locked each day until after you complete your recovery test.
Zone 2
In the traditional 5 static zone heart rate model, the commonly used Zone 2 range is 60-70% of max HR. This an arbitrary range that may not apply to you.
Zone 2 isn’t just a percentage of max heart rate. It represents a specific metabolic state.
Zone 2 training builds the aerobic systems that power recovery, resilience, and long-term performance.
It may not feel intense, but it develops the internal machinery that allows you to handle stress and bounce back faster. Skipping Zone 2 training often means building intensity on a weak foundation.
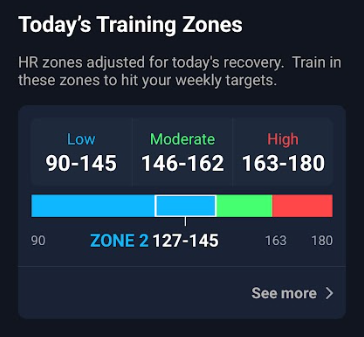
In Morpheus, Zone 2 is roughly the upper 1/3rd of the blue zone. This changes daily based on your recovery score.
You can see your specific Zone 2 heart rate range each day in the Today’s Training Zones section of the home screen.
How the Morpheus heart rate zones work
The Morpheus heart rate zones can help you improve your fitness faster because they are:
- Built around your recovery and adjust to your body on a daily basis. Not on static zones that never change.
- Take into account your overall fitness level and adapt as you get more fit
- Use the latest science to estimate your max heart rate and update as you train so they’re accurate
- Are designed to help you improve your recovery and conditioning without leading to overtraining
To make the zones as accurate as possible, you will need to do two things when you set up the Morpheus app.
First, select your fitness level between low, moderate, and high. You can always go back into the settings in the app at any time and change these fitness levels as necessary.
- Low – You have not been training recently and/or are just starting out.
- Moderate – You train recreationally a few times a week, but know you still have a lot of room to improve your overall fitness.
- High – You consistently workout 5-6 days a week and have a resting heart rate in the 50s and/or HRV in the 80s.
Second, if you know your max heart rate from specific testing you’ve done, you can enter it into the app.
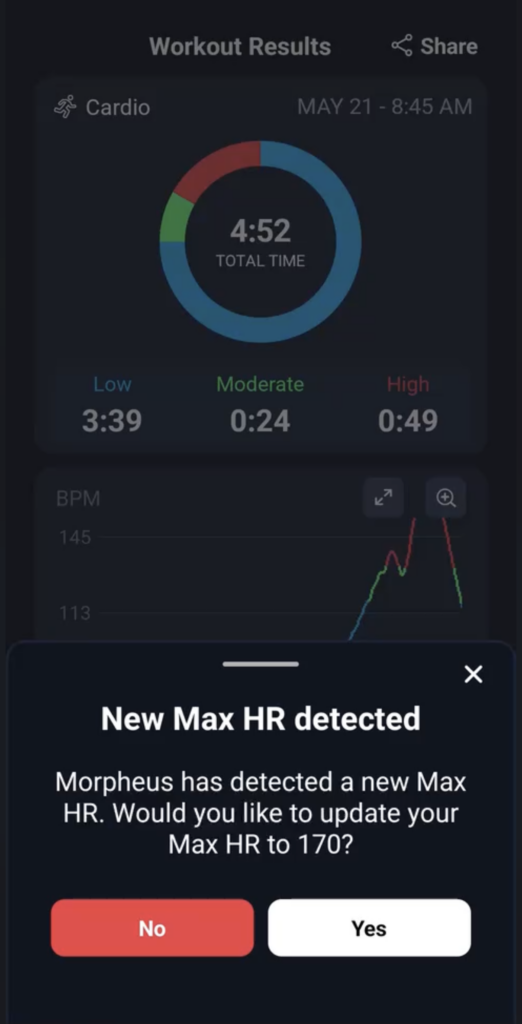
If you don’t, then you can start by letting Morpheus estimate your max heart rate based on the most recent and well-validated formula that it uses. If you achieve a heart rate higher than this during a workout, Morpheus will notify you and can automatically adjust this for you.
Once you’ve completed these two steps, you’re ready to start getting in your zone.
Note that if you do not take a recovery score for the day, you will still see the colored zones. Instead of being dynamic based on your recovery, they will be set at your baseline levels derived from your fitness level and max heart rate.
Strength Training
There are no heart rate zones when you choose “Strength” as the workout type in Morpheus.
When you choose Strength as your workout type, the heart rate number and heart rate graphs will all be a white/gray color.
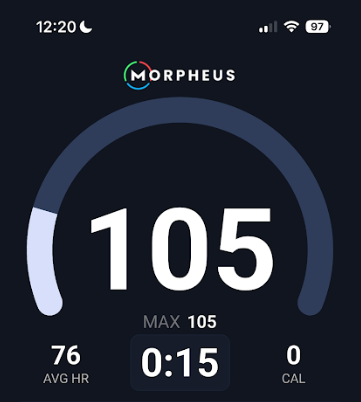
Strength training and cardio are completely different modalities and lead to completely different physiological adaptations even if doing each at the same heart rate as the other. Heart rate increases during strength training for completely different reasons and thus should not be tracked as cardio in the app.
The adaptations in the heart are not the same – lifting weights thickens cavity walls whereas cyclical work (running, rowing, biking ect) in the zone 2 range of max heart-rate stretches cavity walls.
To maintain the same level of cardiac output (a product of heart-rate and stroke volume which is an important element when improving aerobic fitness) by lifting weights for longer durations is simply not sustainable – a key component to getting the most from your aerobic work is that it is somewhat easy and a pace you could sustain for longer durations.
Lastly, when lifting weights, blood pressure rises to maintain muscular contractions. This reduces stroke volume and therefore restricts venous return (blood back to the heart) – this results in your heart-rate increasing which inhibits “stretching” (eccentric hypertrophy) and takes away from the results we are going after regarding cardiovascular fitness adaptations.
So regarding tracking workouts in Morpheus, the point is to track strength training as Strength and track cardio training as Cardio.
Morpheus Heart Rate Zones
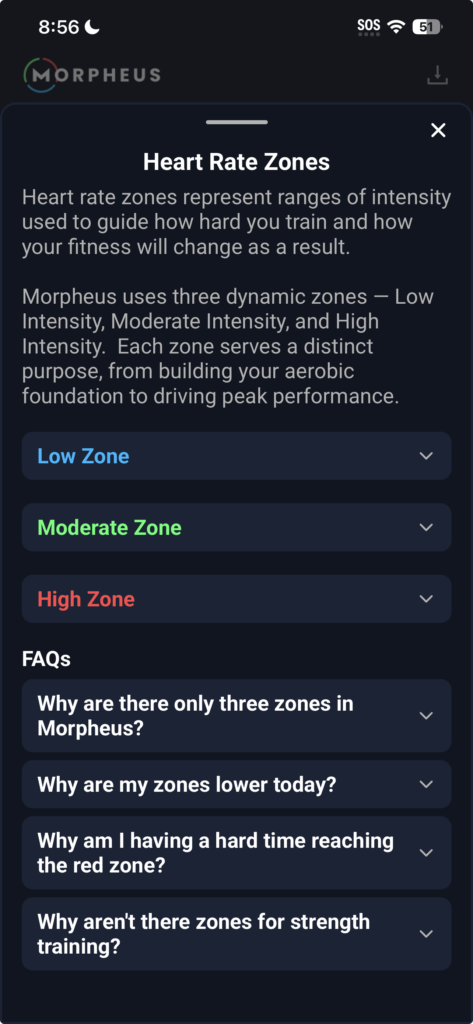
Morpheus uses three dynamic zones – Low, Moderate, and High.
Each zone serves a distinct purpose, from building your aerobic foundation to driving peak performance.
The Low Zone (Blue)
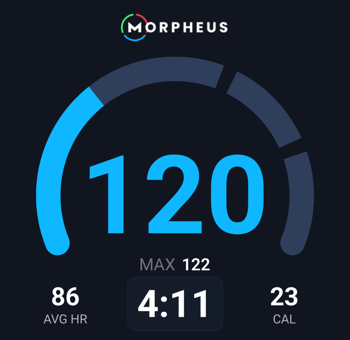
The Low Zone is the lower intensity zone and includes aerobic training often referred to as zone 1 and zone 2.
The truth about intensity and fitness is you don’t need only low or only high intensity. There are unique benefits to different intensities. Your training should incorporate the full range of intensities across all three Morpheus zones.
A very general rule of thumb is that if your goal is to increase your aerobic fitness and conditioning, roughly 75-85% of your total cardio training time across each week or month should be in this zone. That’s because training at proper lower intensities develops the aerobic system in some important ways that higher intensities do not.
The Moderate Zone (Green)
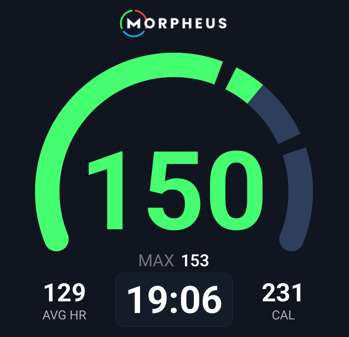
The Moderate Zone is a step up in intensity from the Low zone and as such, most workouts will end up with less overall time in it than the Low zone.
This zone sits between your aerobic and anaerobic thresholds – above your base work of the Low zone, but below the high intensity efforts of the red zone.
When you’re in the green zone, you’re tapping into more muscle fibers than when you’re in the blue zone.
There are two anaerobic energy pathways that create energy without oxygen. They can produce energy much faster than the aerobic side, but the cost of this is they also lead to fatigue much faster as well.
The higher up you go in the green zone, the more you’ll be tapping into the anaerobic side. This will make it more and more difficult to keep going without hitting a wall and gassing out.
Training in this zone teaches your body to operate more efficiently at higher intensities and increases your capacity to sustain harder efforts for longer durations.
Because your workouts should be a balance of higher and lower intensities, your overall weekly and monthly time here should end up around 15-25% of the total cardio time.
The High Zone (Red)
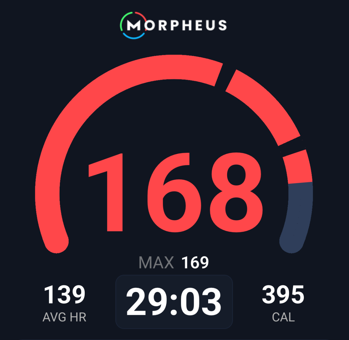
The High Zone is the highest intensity and puts your body under the most stress.
It puts the body under maximum load and taxes the aerobic system to its limits, while also pulling in energy from the anaerobic side as well.
Training here is one of the most powerful tools for raising your VO2 max, while increasing speed and power, and improving your body’s ability to tolerate and clear lactate at high work outputs.
The tradeoff, however, is fatigue.
High intensity places significant demand on your entire body and requires meaningful recovery time afterward. Because of this, it is most productive when your recovery score is high.
You generally don’t need more than a few minutes of time within the red zone in a workout to see the benefits. You also don’t need to drive your heart rate all the way up to the red zone every workout.
Depending on your fitness level, anywhere from 1-2 workouts per week with time in the red zone is all that’s needed. Averaged across a week or month, generally no more than roughly 5-10% of your total cardio training time needs to be in your red zone to see continued results.
The Big Picture
Fitness improves best when intensity is balanced:
- Mostly Blue for base and recovery
- Some Green
- Small doses of Red
Morpheus adjusts these zones daily based on your recovery, helping you train hard when your body is ready and pull back when it’s not.
That’s how you improve consistently — without digging a recovery hole.